
Tutorial
Planning a 3 lane routed track. Part 2
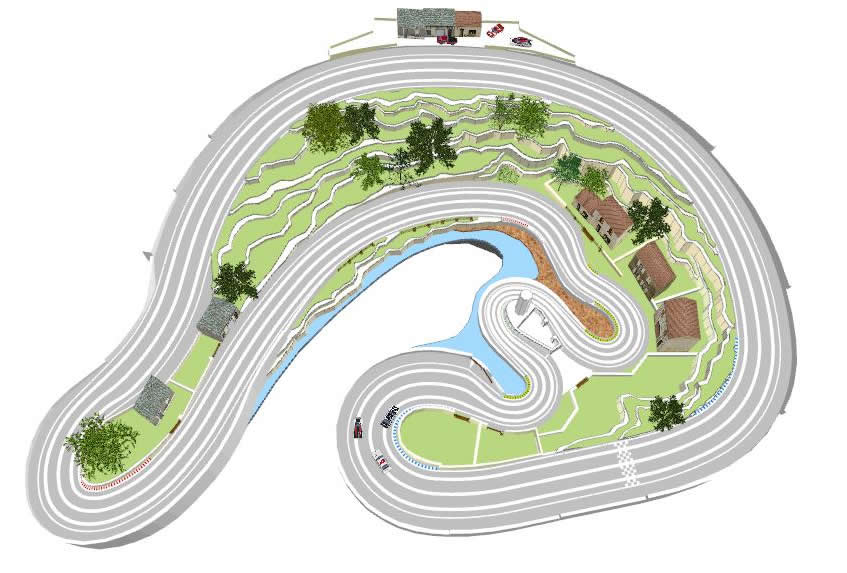
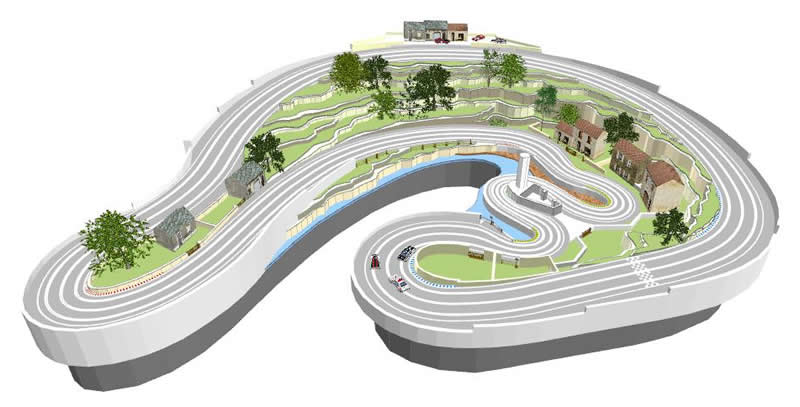
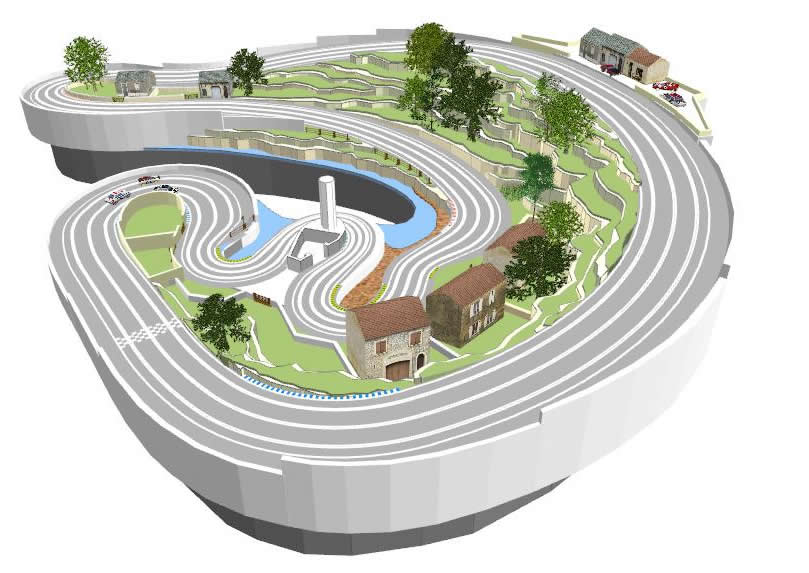
With our track layout completed, I can now move onto the landscaping and scenery.
I'm going to use two different approaches for building up the scenery on our track design. First, I'll add some basic shapes and textures to build up the landscape, then I'll use some 3d models from the scenery toolbar to add houses and trees.
Building up the Landscape
Building up our landscape and adding walls and barriers, is essentially the same very simple process, repeated many, many times.
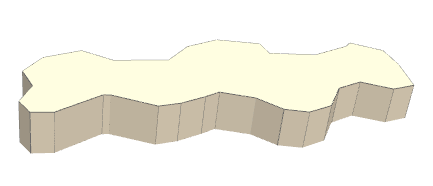
Many of the features you see on the layout above are simply polygons with a height applied, and a colour set.
It's not complicated, but it does take a little patience.
Here are some examples...
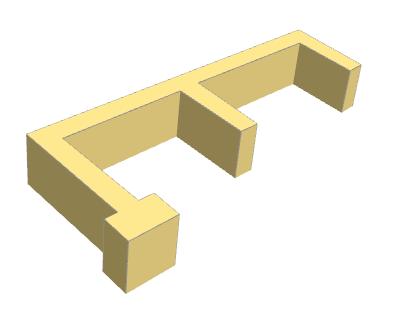
To make a wall
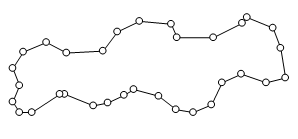
![]() In the 2d view
In the 2d view
![]() Select the Polygon tool
Select the Polygon tool
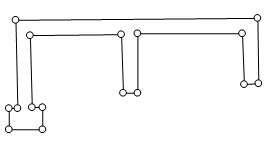
Click once at each corner of the shape you want to create, and click twice to finish the shape.
Double click on the shape to open Properties or go to Circuit > Properties or press Alt + Enter on your keyboard.
Enter a height for your wall (say 4cm). Pick a Fill colour, remembering to untick the No colour transparent box (I've chosen a light brown from the Custom colour pallette). Pick a Frame colour (I've gone for a light grey).
![]() In the 3d view, here's our wall
In the 3d view, here's our wall
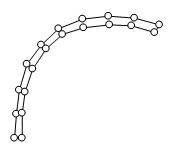
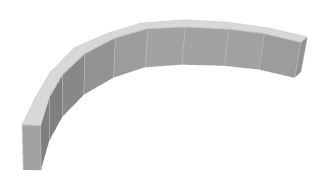
To create a curved wall, for around the track, you can simply add multiple points to make the curve
![]() In 2d
In 2d
![]() In 3d
In 3d
To make rocks
![]() In the 2d view
In the 2d view
![]() Select the Polygon tool
Select the Polygon tool
Draw a "rocky" shape..
As with the wall, give the shape a height and a colour
![]() In 3d view
In 3d view
We can add some grass on top the rock fairly easily. Copy and paste the shape, increase the height slightly, give it a green colour and move the points inward slightly to make it slightly smaller.
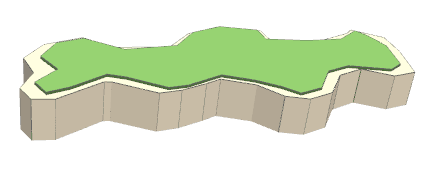
As you can see from the 3d drawings of our layout we've used multiple rock shapes, each with different a height, to create the effect of a rocky hillside.
You can also probably see that many of the shapes on the layout are made using these same techniques; the water, the beach, the table under the track etc etc
The polygon tool is very useful indeed!
Where's my polygon gone?
One of the problems with working in 2d is that new shapes can easily get hidden behind existing shapes. When you first draw a shape it is added to the layout at ground level and does not have a height property.
So if there is an existing object that has either an elevation or height set, the new shape can easily be hidden underneath. A typical example here is when you draw a track table and raise it to a particular level, then try to draw a smaller shape that you want sit on top of the table. If you're not careful the shape will disappear under the table.
The way to get around this is to drag the polygon (or any other shape) off to one side as soon as you've drawn it. Don't click anywhere else, the polygon will disappear under the table. As soon as you've finished drawing the shape drag it away from any other objects.
![]()
![]() Then you can use the Show elevation tool and the Raise tool to set the elevation of the shape, and the Properties panel to set a height.
Then you can use the Show elevation tool and the Raise tool to set the elevation of the shape, and the Properties panel to set a height.
Now you can move the shape back to it's original position and if you've set everything correctly it should appear above the other objects in the layout.
Displayed elevations
Another point worth noting is that with shapes, the elevation which is shown in the blue circle, is a combination of the height set in Properties, and the elevation set with the Raise tool. So if we set an elevation of 25cm with the Raise tool and an object height of 10cm in Properties, then the displayed elevation will be 35cm.
In other words the displayed elevation for shapes, shows the height of the top surface of the 3d shape.
In contrast, for the 3d models we are about to start using, the elevation shows the height to the base of the model and ignores the height of the model. This might seem odd at first, but after using the 3d functions for a while, it begins to make sense.
It would take me quite a long time to explain why it makes sense, so perhaps I could leave that for a future tutorial. For now, the important thing to understand is that elevation for a shape represents the top surface of the object, but the elevation for a 3d model represents the base or bottom of the object.
Adding 3d models
Adding 3d models is easy compared to the complicated business of track elevations and 3d shapes.
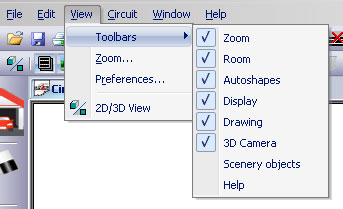
First we'll switch on the Scenery objects toolbar in the View menu
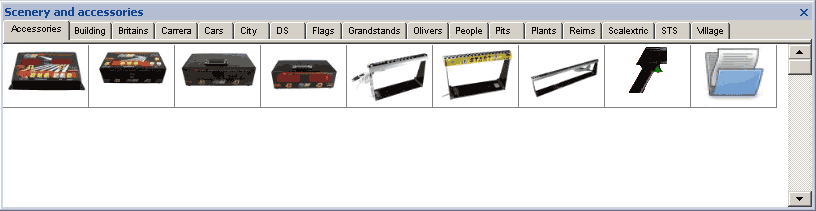
Scenery objects are divided into tabbed categories. The first two tabs (Accessories & Building) are 2d images, the rest are the 3d models which we'll be using here.
![]() Scenery objects are easier to add in the 2d view
Scenery objects are easier to add in the 2d view
Here we want to add some small houses, some trees and some fencing and gates.
So first we'll go to the Village tab where we can see a range of small village houses, amongst other things.
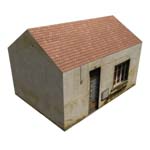
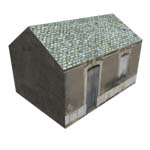
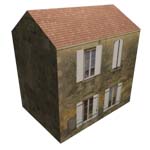
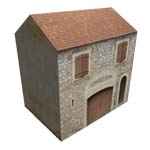
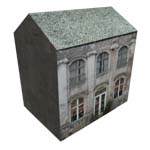
To add a 3d model all we do is click on the preview picture.
Then we can move and rotate our model to whatever position we want.
3D models automatically adjust their own elevation to sit on top of any other objects.
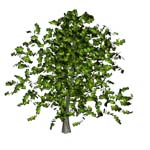
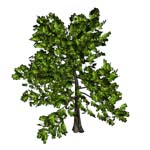
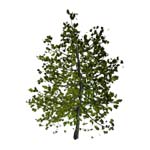
Next we'll add some trees....
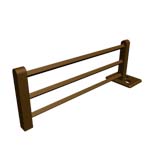
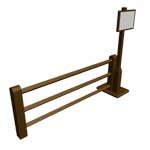
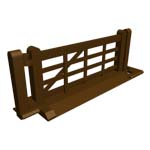
...and some fences and gates. These represent commercially available items from Britains
Finished track design
That's all
Our track layout design is now finished
You can download the track layout from the Ultimate Racer Layout Archive